This article will detail the installation of a remote accessory on the Noritz tankless water heater.
How to Install Remotes (Most Units)
To locate the directions for your specific model, please download your installation manual here: https://support.noritz.com/technical-literature
Considerations on the installation location:
- The remote should be installed in an easily accessible location.
- Avoid installing in a place where the water or steam can come into contact with the controller.
- Avoid locations where special chemical agents (e.g., benzene, fatty and oily detergents) are used.
- Avoid outdoor installation, or installation in an indoor location where it will be exposed to direct sunlight.
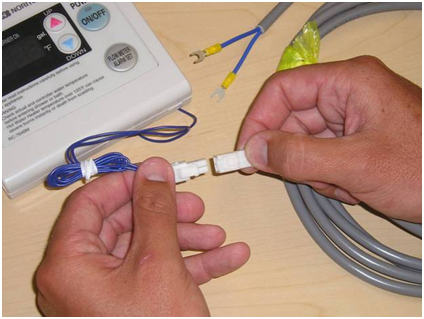
Connection of the Remote Controller Cord
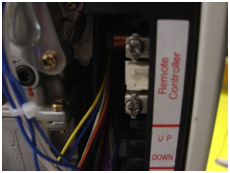
- White Connector -> To Remote Controller (Figure 1.)
- Y-Shaped terminals->To Water heater (Figure 1.)
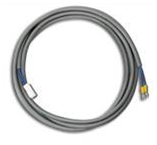
- A 26’ cord can be purchased separately (Part# RC-CORD26)
- The remote controller cord can be extended up to 300 ft. by splicing the cord and using 18 gauge wire to extend the cord to the appropriate length.
Types of Remote Terminal Blocks:
External connection terminal block type (current and newer models):
1. Check to make sure that the remote controller cord has plenty of slack in order to reach the external connection terminal block.
2. Disconnect electrical power to the water heater.
3. Remove the single screw securing the terminal block cover and then remove the cover.
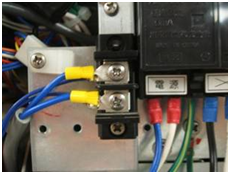
4. Pass the remote controller cord through the wiring throughway and connect the Y terminals at the end of the remote controller cord to the terminal block. Pick either the screw set on the left or on the right, do not connect one to each side.
5. Replace the terminal block cover and install the screw previously removed in step 3
6. Reconnect electrical power to the water heater.
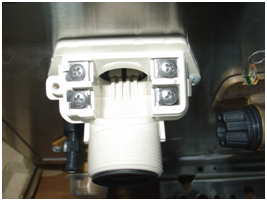
Circuit board mounted terminal block (Current small units):
(NRC661, NRC663 [EZTR40], NRC711, NR501, NR662)
- Check to make sure that the remote controller cord has plenty of slack in order to reach the terminals inside the unit.
- Disconnect electrical power to the water heater.
- Remove the 4 screws securing the front cover and take of the cover.
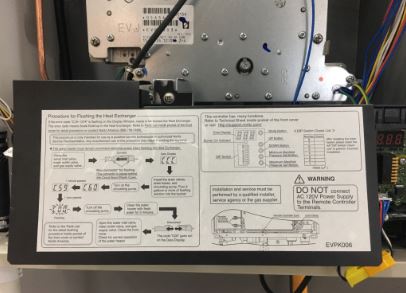
- Locate the circuit board along the bottom of the unit and lift the plastic flap covering it (image 1).
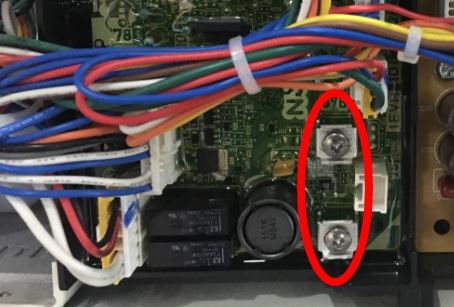
- Pass the remote controller cord through the wiring throughway and connect the Y terminals at the end of the remote controller cord to the terminal block circled below (image 2).
- Replace the front cover and the 4 screws.
- Reconnect electrical power to the water heater.
Internal & Circuit board mounted terminal block type (older units):
- Leave enough slack so that the remote controller cord will not be damaged if the unit is removed from the wall.
- Remove the front cover of the heater (4 screws).
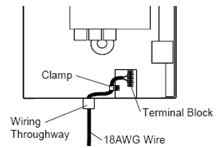
- Pass the remote controller cord through the wiring throughway and into the unit.
- Connect the Y terminals at the end of the remote controller cord to the terminal block (see images below).
- Secure the remote controller cord with a clamp.
- Replace the front cover.
Internal terminals mounted next to the GFCI:
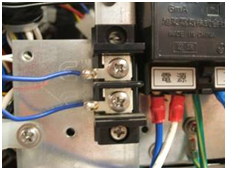
Circuit Board Mounted Terminal Screws